This Halloween or Thanksgiving, try our super rich and moist black chocolate cake recipe, made with Greek yogurt and natural ingredients. Topped with an artificial dye-free bright orange icing made easy with our Icing (frosting) Mixes.
MAKES: 1 BUNDT CAKE
Prep time: 15 minutes
Cook time: 45 minutes

INGREDIENTS
CAKE
1 cup (2 sticks) unsalted butter (plus some for greasing the pan)
1 cup whole milk
⅓ cup black Dutch-process cocoa powder
2 cups all-purpose flour
1 ¾ cup granulated sugar
1 ½ tsp baking powder
½ tsp salt
2 eggs
½ cup plain Greek yogurt
ICING
1 Color Kitchen Plain Icing (Frosting) Mix
3 tbsp milk or milk alternative
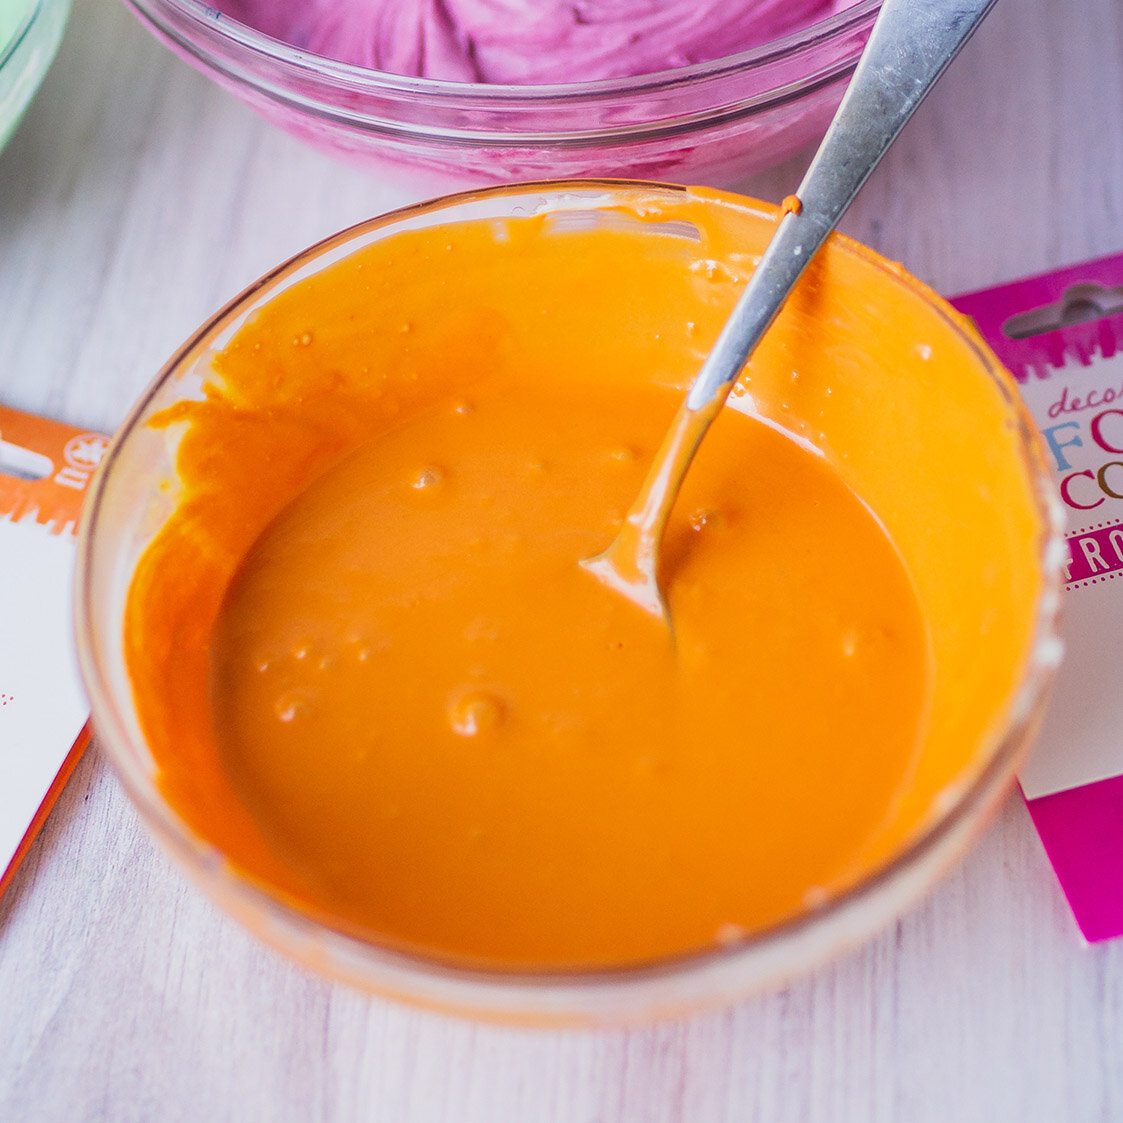
1 Color Kitchen Orange Color Packet
½ tsp natural orange extract
DIRECTIONS
Preheat the oven to 350 degrees and grease a 10-cup bundt pan.
In a small saucepan over medium heat, combine the butter, milk and cocoa powder. Mix over heat until the butter is melted and the cocoa powder has dissolved into the milk. Remove from heat.
Combine the dry ingredients. In a large bowl, whisk together the flour, sugar, baking soda and salt.
Add the butter and cocoa powder mixture to the dry ingredients and whisk to create a thick batter. Then add the eggs to the batter and whisk until smooth. Add the Greek yogurt to the batter and whisk one more time until all ingredients are evenly combined.
Pour the batter into the prepared bundt pan. Bake for 45-50 minutes, until a toothpick inserted in the center comes out clean. Allow the cake to cool in the pan for 20 minutes before inverting it onto a cooling rack.
While the bundt cake is cooling, prepare the orange icing. Add the frosting mix, milk, and orange extract to a large bowl and mix until smooth.
Once the cake is cooled, pour the icing on top.