6 Simple Things to Add to Your Gluten-Free Mix to Enhance It

In the past, preparing gluten-free meals meant only one thing, all with rice flour and hoping for the best. Fortunately, by connecting the community and sharing mutual knowledge, things are very different (tastier) today. So, stay with us and learn more about simple things to add to your gluten-free mix to enhance it.

Are you tired of boring, sometimes tasteless recipes that guarantee nothing but bland taste? These are our favorite methods for improving flavor without messing up the texture. Let’s go!

Vanilla Extract

Ahhh, vanilla extract! It can make any gluten-free mix incredibly better, if you ask us. In addition, it is very versatile and can be combined with any flour. Generally speaking, extracts, whether you use hazelnut, vanilla, almond, caramel or lemon, are perfectly combined with baked goods because they don’t alter the structure.

P. S. If you are a fan of pancakes but don't like to prepare the mixture yourself, check out this gluten-free rainbow pancake mix and add some colorful fun to your everyday life.

Citrus Zest

Citrus zest is among the simplest things to add to your gluten-free mix to enhance it. It is in the same range as extracts, although not as strong. People generally choose two flavors, orange and lemon, the first of which goes well with chocolate, and the second with vanilla flavors.

Besides adding a bit of flavor, the zest actually helps bring out other flavors. It turned out best for us when we add two teaspoons of fresh zest per mix. What about you?
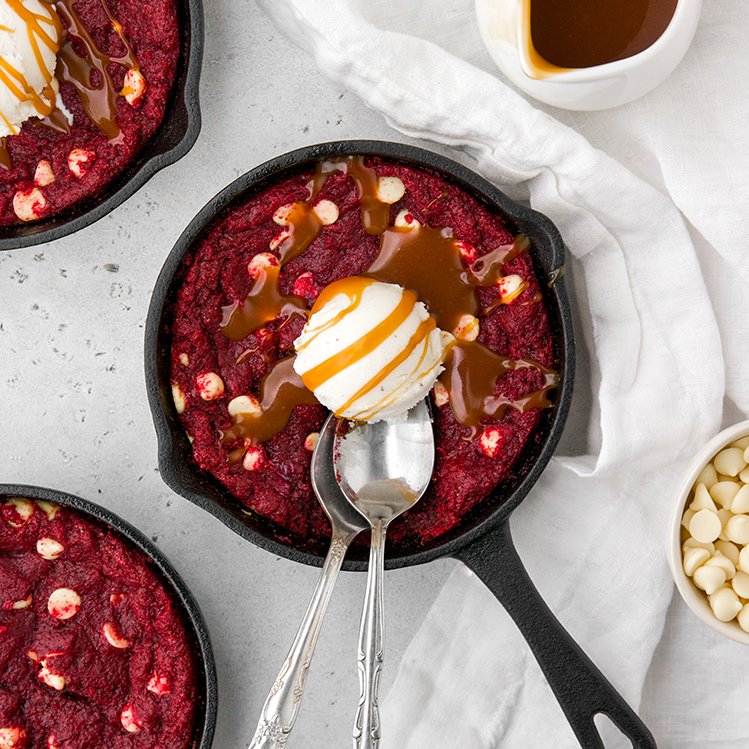
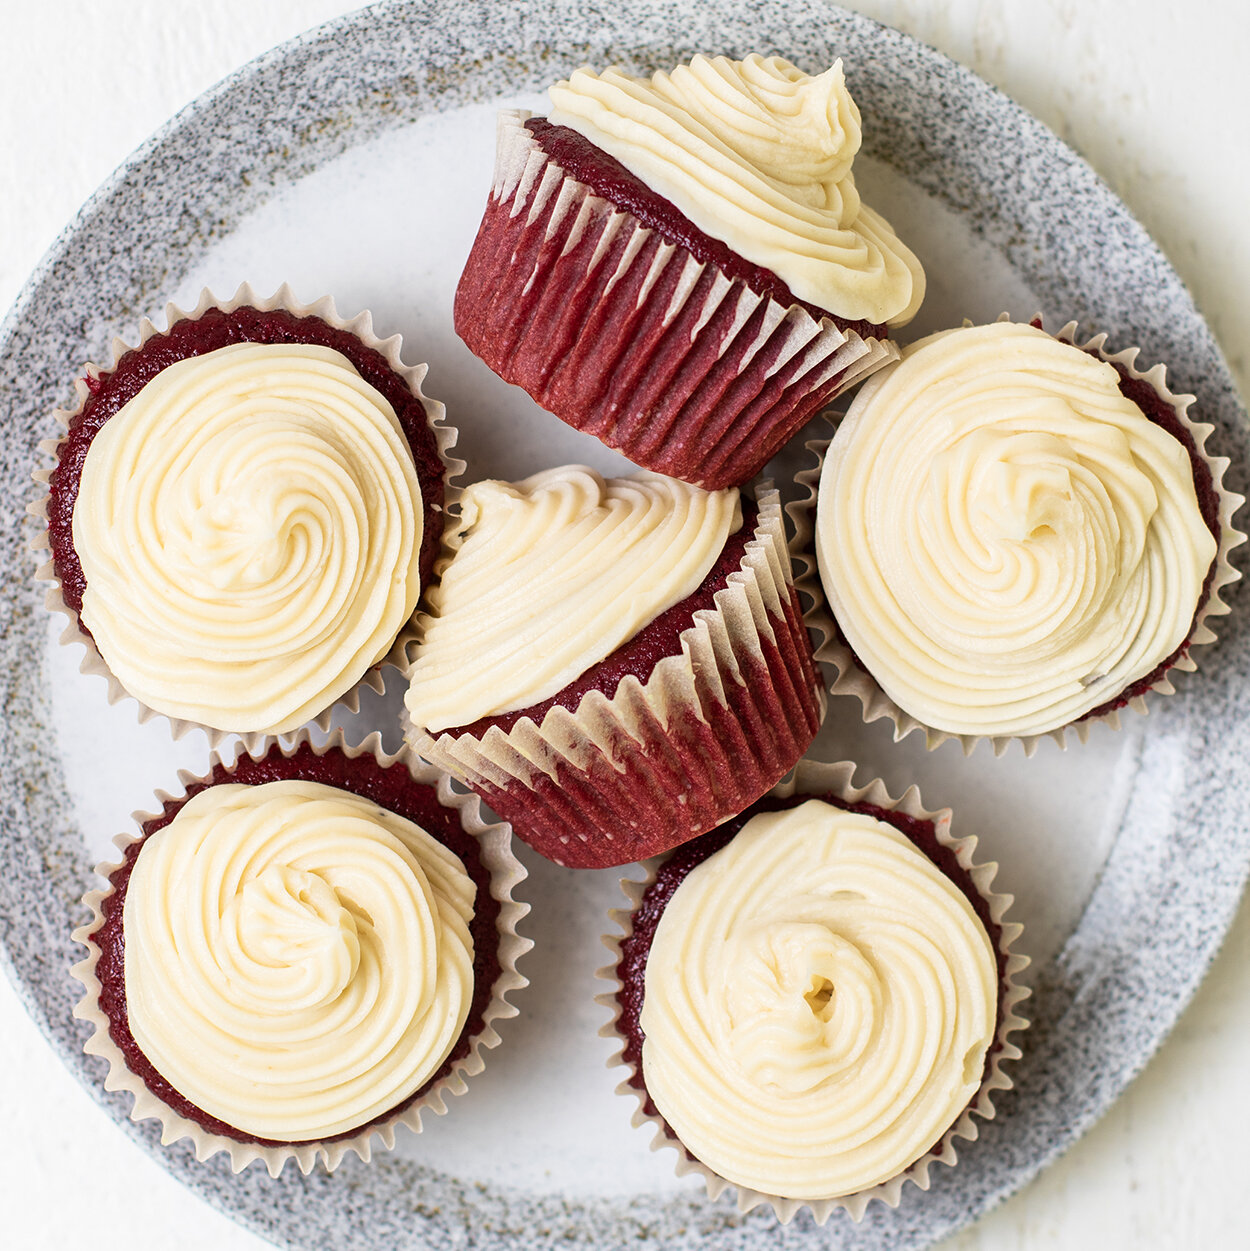
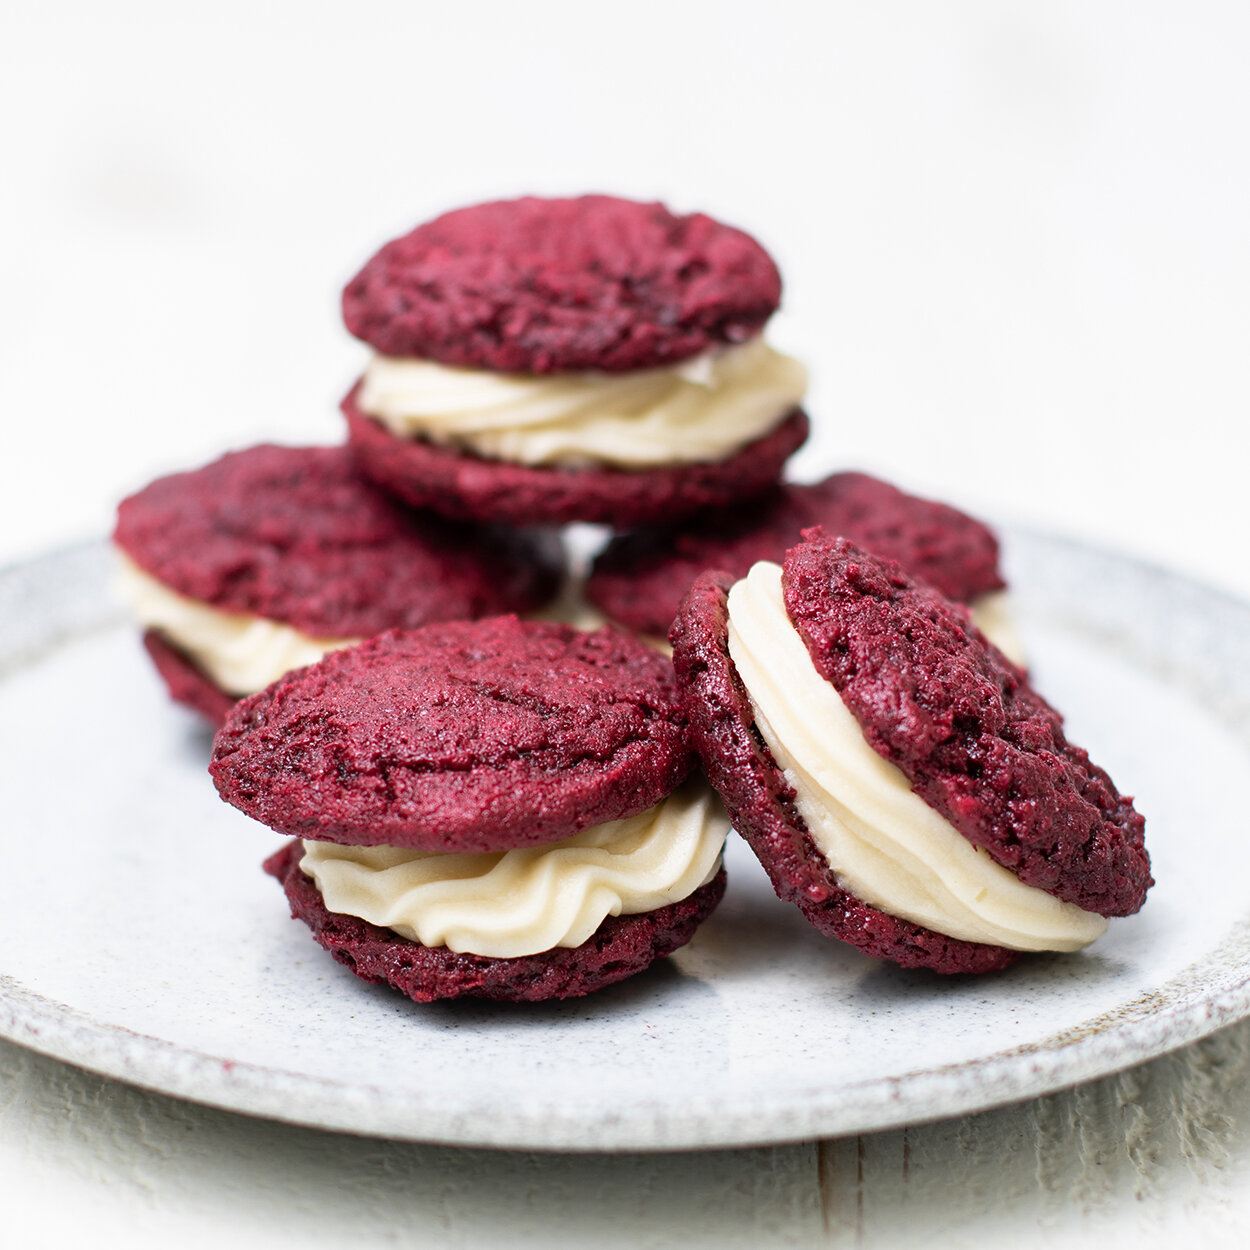
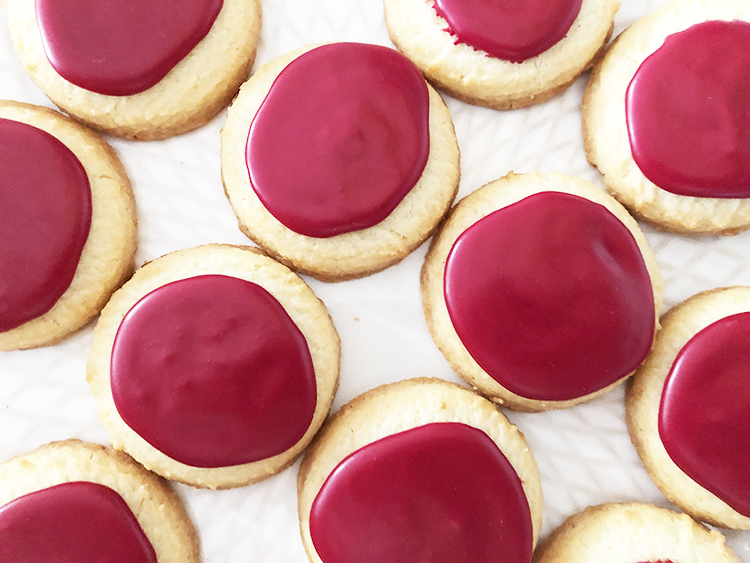
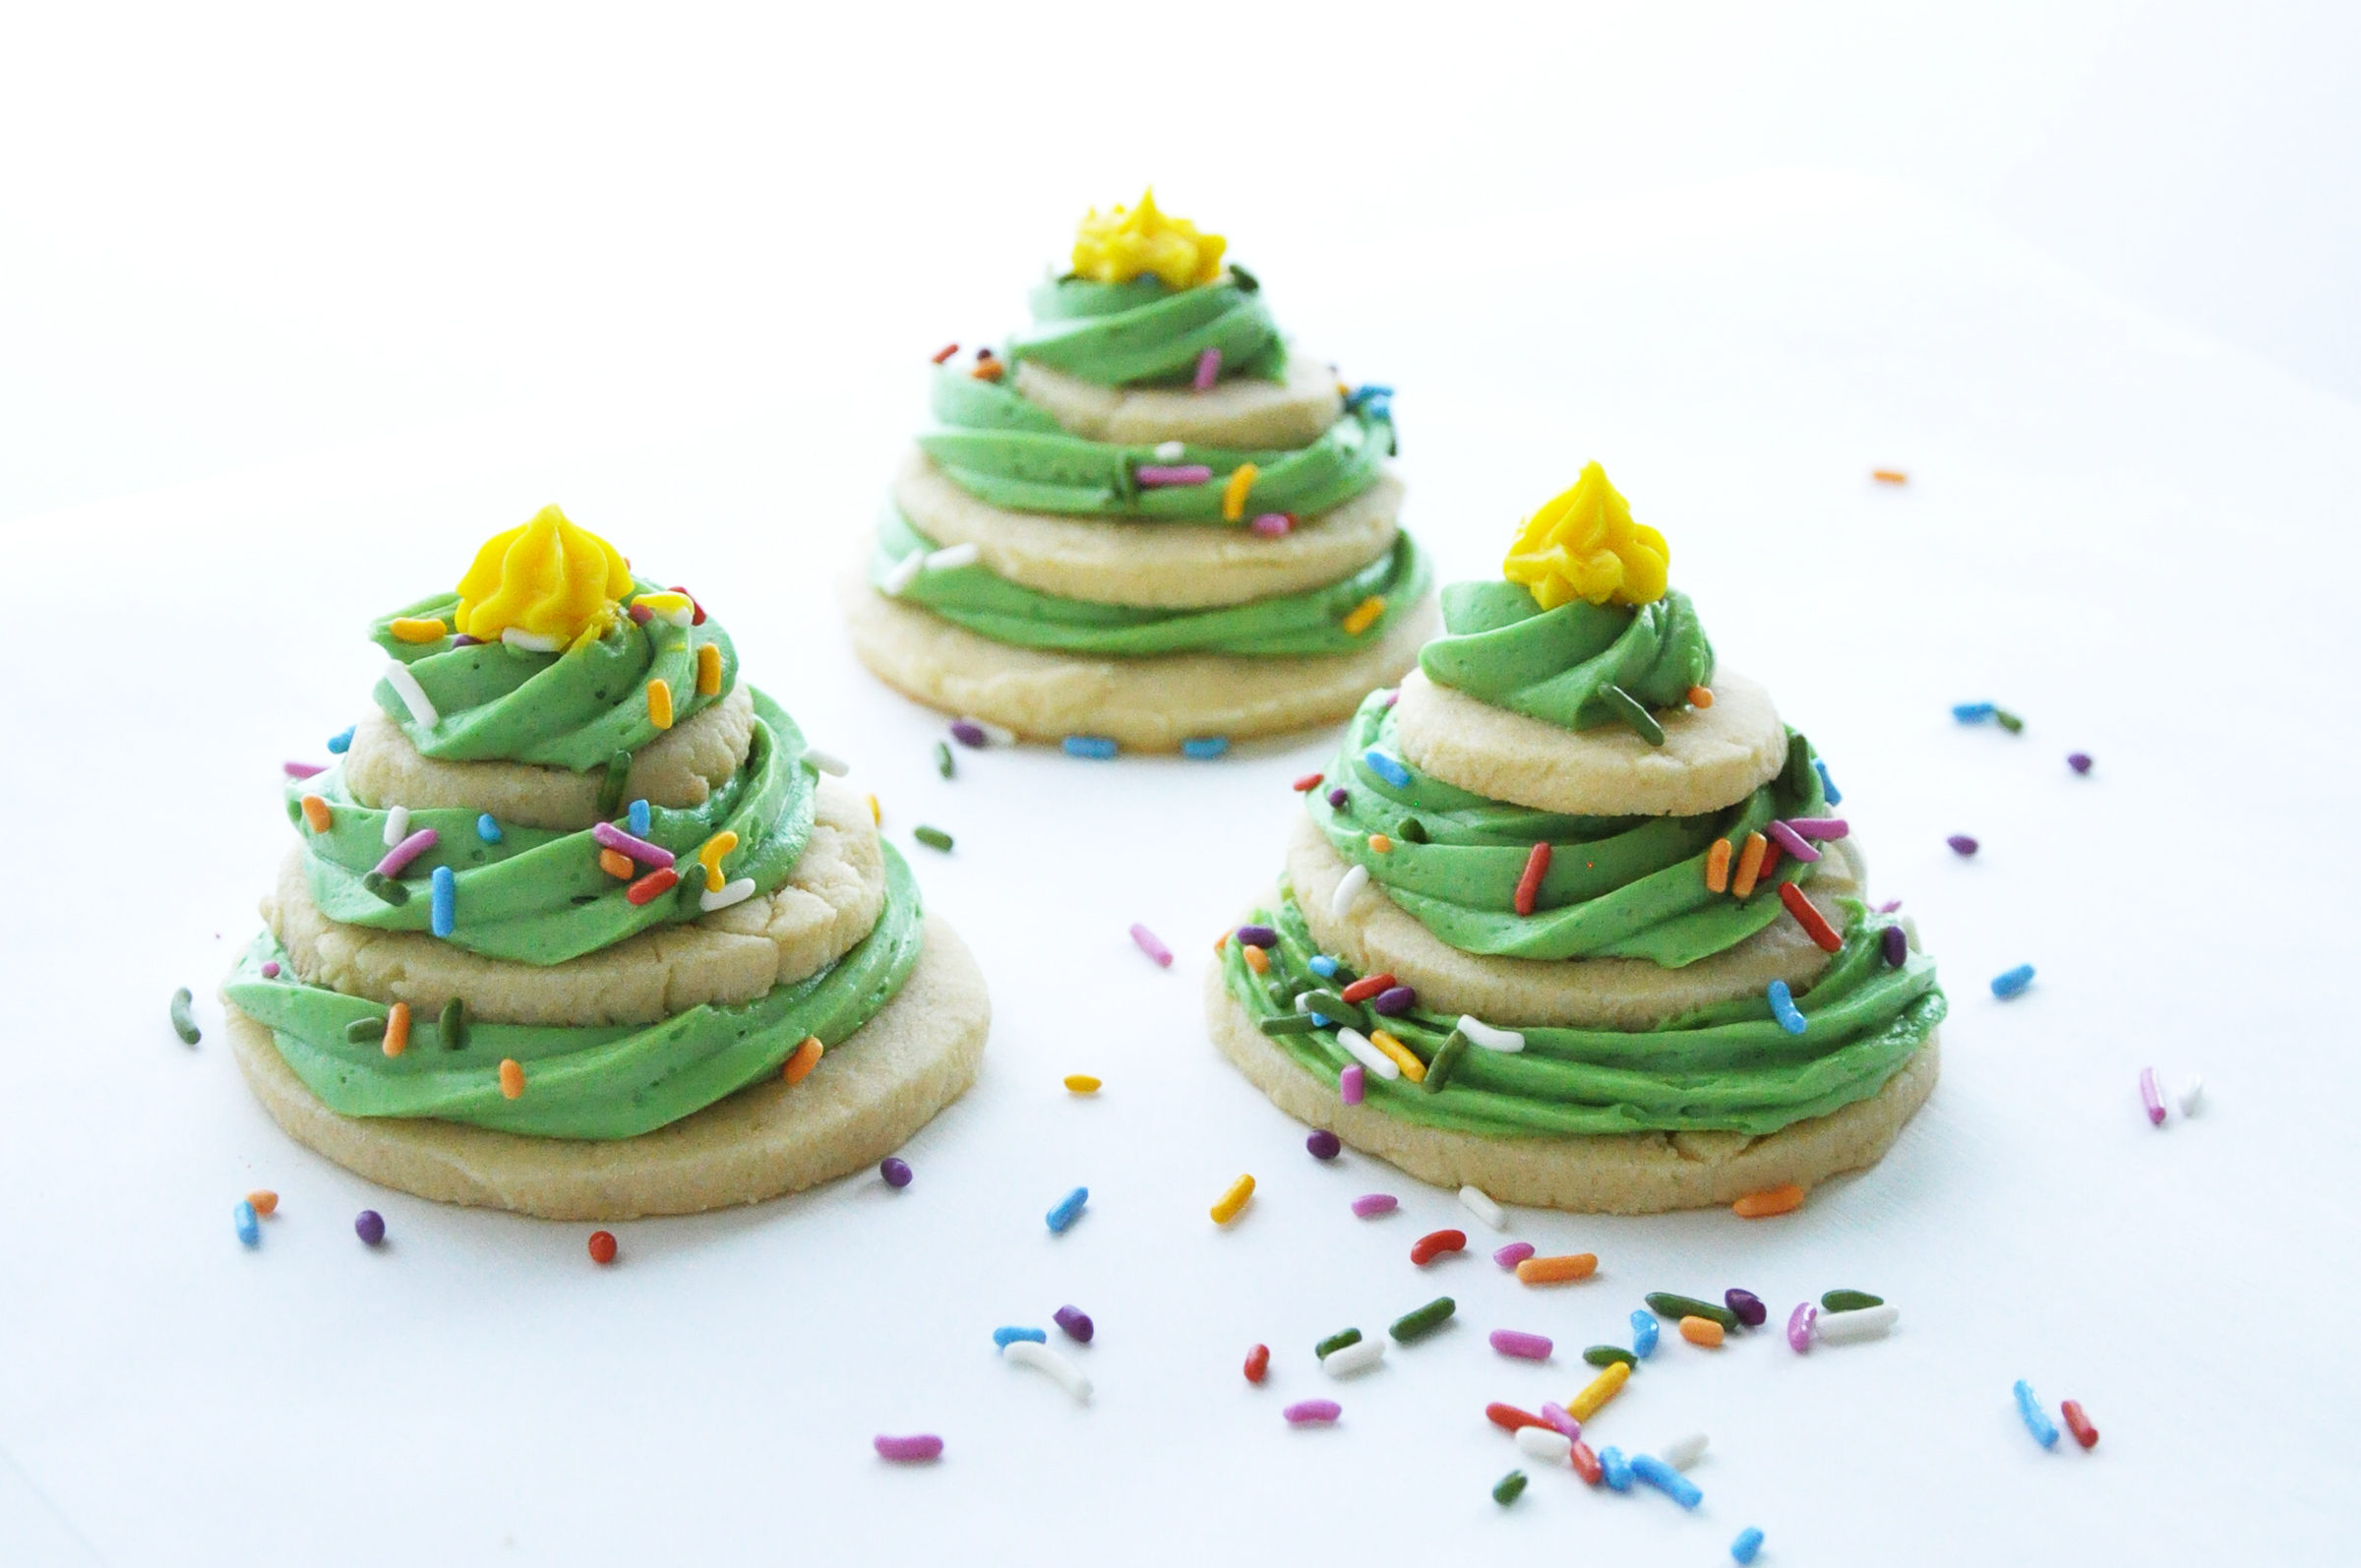
Glaze or Icing

The best way to improve the flavor of your mixture is to add a little icing or glaze. Besides being rich and delicious, it can jazz up any regular cake mix. Have you ever tried naturally colorful frosting mix with sprinkles? Since we first tried it, it has become an indispensable part of our sweet recipes.

Espresso

Did you know that coffee can bring out the natural flavor of chocolate? Although espresso is a much better option, you can also use instant coffee that you have at home, the difference is there, but it is minimal. It's important to note that when using a gluten-free mix, highlighting the chocolate flavor can mask the taste.

As for us, we usually add a few teaspoons before baking, it's the easiest way to enhance the flavor of any gluten-free mix.

A Pinch of Salt

We know it sounds unusual, perhaps even contradictory, but adding salt to desserts can really add a new depth to the flavor. Salt also goes well with chocolate and vanilla, the two most commonly used flavors. You don't need to exaggerate the amount, a pinch of salt definitely goes a long way.

Dry Sweetener

Honestly, the taste of gluten-free flour is what turns most people off this way of eating, but luckily there are various sweeteners that can greatly improve the situation. We usually use coconut sugar, but you don't have to, any kind of sweetener will work just fine. The most important thing is that it should be dry, not wet because wet ones have a slight effect on the texture of the mix.

To Conclude

Different flavors of extract, citrus zest, coffee, salt, etc. are simple things to add to your gluten-free mix to enhance it; whoever tried them was not left indifferent.

We hope you enjoyed reading this article as much as we enjoyed writing it. If you have any questions, feel free to let us know in the section below.

Also, take a look at this recipe and find out how to make a gluten-free cake mix that tastes better than any other, at least when it comes to our taste buds.

Author’s bio
Karen Rutherford is founder and editor in chief at Cake Decorist. You will often find her in the kitchen trying out some new recipes. As a pâtissière and baking enthusiast, Karen has decided to share her knowledge with the internet audience and provide the best tips and recipes for baking and decorating your favorite sweets.

5 Easy Gluten-free and Natural Red Velvet Recipes

Love red velvet treats and looking for healthier gluten-free and artificial dye-free alternatives? Try these easy recipes made with natural ingredients!

RED VELVET SKILLET COOKIE SUNDAES

Baked in cast iron skillets, these gluten-free red velvet cookie pies are served warm. Melting white chocolate, caramel and ice cream, makes this the perfect dessert to be shared with those you love.

These poppable, delectable Love Day treats are made easy with our artificial dye-free and gluten-free Red Velvet Cake Mix.

Using our naturally colorful Red Velvet Gluten-free Cookie Mix, simply add some white chocolate and top with sea salt, These delicious cookies are soft and fudgy in the middle.

This recipe makes natural, red velvet cupcakes simple, using Color Kitchen's Gluten-Free Red Velvet Cake Mix colored with artificial dye-free, plant-based red color. And all you need is to add a little cream cheese to our Plain Frosting Mix with a few other basic ingredients and you’ve got your frosting served!

Red Velvet Whoopie Pies are fun for any season and especially around the holidays or as a Valentine treat. This recipe makes it simple, using Color Kitchen's Gluten-Free Red Velvet Cookie Mix with artificial dye-free, plant-based red color.

6 Ways to Celebrate an Allergen-Friendly Birthday

PinkCake_web.jpg

Let's face it, when we think of birthdays, we think of cake! Unfortunately, due to allergens, not everyone can always indulge in a big frosted slice. However, there are some great alternatives to ensure that everyone at the party gets to...well...party!

Here are 6 of our favorites recipes for birthday baking fun!

Sugar Cookies You Can Paint

watercolor_cookies.JPG

Using our allergen-friendly color packets, this treat doubles as an activity. Use any allergen-free sugar cookie recipe and cream cheese glaze (can be substituted with dairy-free options) to glaze. Using our color packets and a few paintbrushes, everyone can ice and paint their cookies!

Colorful CHOCOLATE Cupcakes

blue_web_2_sm.jpg

You can never go wrong with chocolate cupcakes! Check out our recipe for these delicious gluten-free cupcakes, using our food colors or our frosting mixes to create endless color combinations.


dairy-free Rainbow Ice Cream

CrazyVanillaIceCream_blog.jpg

Nothing beats ice cream to celebrate a summer birthday! Check out this recipe featuring our food colors to create delicious rainbow colored ice-cream. You can even mix the colors in to pre-made ice cream too!


Rainbow Pancakes

Sleepover party? Then you must be sure to serve our gluten-free and artificial dye-free rainbow pancakes for breakfast! This colorful mix will bring smiles to everyone’s faces, starting the day off with colorful fun. Our plant-based colors are made from nutrient-rich turmeric, beet and spirulina.

Pancake_Stack_AM.jpg


Animal Crackers WITH NATURAL SPRINKLES

AnimalCrackers_Plate_BLOG.jpg

Animal crackers are a childhood favorite and will add fun to any birthday celebration! Make your own using our recipe for naturally colorful animal cracker icing here.


ALLERGEN-FREE Cake

PinkCake_Slice_web.jpg

And of course.... we had to feature an allergen-free cake. This dairy-free, egg-free, gluten-free, vegan and low glycemic cake will satisfy any sweet tooth. You can use any of our colorful frosting mixes with sprinkles to decorate to your heart's content! Or color your own frosting with our naturally sourced colors and sprinkles.

The allergen-free possibilities are endless with Color Kitchen products, made with plant-based, non-GMO, soy-free colors from nature.

Chocolate Dipped Sugar Cookies with Sprinkles

IMG_1636-2.jpg

We’ve teamed up with Flora Plant Butter and Sweet Lorens to make these Chocolate Dipped Sugar Cookies with Sprinkles!

This recipe is made with Sweet Loren Sugar Cookies dipped in melted chocolate using  Flora Unsalted Plant Butter, and topped with Color Kitchen Rainbow Sprinkles. Nothing artificial, only the best clean ingredients for your baking inspiration!

TOTAL TIME: 45 MINUTES

PREP TIME: 20 MINUTES

BAKE TIME: 13 MINUTES

12 SERVINGS

INGREDIENTS

  • 1 package Sweet Loren’s Sugar Cookie Dough

  • 1 tablespoons vegan butter, such as Flora Unsalted Plant Butter

  • 1 cup chocolate chips or chocolate chunks

  • Color Kitchen Rainbow Sprinkles

PREPARATION

  1. Preheat oven or toaster oven to 325℉.

  2. Place cookie dough portions 2 inches apart on a baking sheet lined with parchment paper.

  3. Bake 11-14 minutes. Since ovens vary, check at the shortest time and add time as needed.

  4. Cool cookies on a wire cooling rack for 15-20 minutes.

  5. While the cookies cool, melt chocolate & vegan butter in a small saucepan over low heat or microwave until melted, at 30 second intervals.

  6. Dip half of each cookie into the melted chocolate and decorate with sprinkles.

  7. Place dipped cookies on a wire baking rack or parchment-lined baking sheet & set in the fridge for at least 15 minutes. Enjoy!


8 Healthy Ways to Stay in & Bake Better Treats This Halloween

Red, White & Blue Naturally Colorful Recipes

5 Recipes Ideas for Memorial Day or 4th of July made with natural, colorful ingredients.

FROSTING-FILLED STRAWBERRIES

strawberry_blue.jpg

Frosting-filled strawberries are a quick and delicious treat. 

INGREDIENTS

basket of strawberries
½ ColorKitchen Color packet
½ pint frosting

DIRECTIONS

Stem strawberries and scoop out tops.

In a separate bowl add color to frosting and mix until all the color is blended. Using a piping bag with frosting tip, fill the hallowed strawberries with colored frosting.

If you don't have decorating tools, scoop the frosting into a ziplock bag and cut a small piece off the corner plastic and squeeze to fill each strawberry.

When finished, lightly dust the strawberries and frosting with sanding sugar or colored coconut flakes


red_white_sammies.jpg

SANDWICH COOKIES-RED, WHITE AND BLUE

INGREDIENTS

dozen cookies
1 pint of frosting, premade or from scratch
1 Blue ColorKitchen Color packet
1 Pink ColorKitchen Color packet
1 Orange ColorKitchen Color packet

DIRECTIONS

Split 1 pint of frosting into 3 bowls.

BLUE: Add 1 ½ tsp blue to one bowl.

RED: Add 2 tsp pink and ½ tsp orange to second.

Mix colors into frosting with a spoon until fully blended. Let sit for 30 minutes to an hour. Colors will saturate, especially the red.

Leave third plain.

Frost between 2 cookies to make sandwiches.

Serve and enjoy!

For remaining color, seal packets and store airtight.


RedVelvetWhoopiePiesWeb.jpg

Red Velvet Whoopie Pies are fun for any season and especially around the holidays. This recipe makes it simple, using ColorKitchen's Gluten-Free Red Velvet Cake Mix with artificial dye-free, plant-based red color.  

MAKES: 12

INGREDIENTS-COOKIES

1 ColorKitchen Gluten-free Red Velvet Cake Mix
3 eggs
2 tbsp plain yogurt
1 stick butter (room temperature) or coconut oil
2 tsp vanilla extract

INGREDIENTS-CREAM CHEESE ICING (FILLING)

12 oz cream cheese, softened
12 tbsp (1 ½ stick butter), softened
1 tbsp vanilla extract
6 cups confectioners sugar
1 Blue ColorKitchen Color packet (optional for blue frosting)

DIRECTIONS-COOKIES

Preheat oven to 350 degrees.

In a medium-sized bowl, blend eggs and yogurt into cake mix.

Add butter and vanilla and mix for 1-2 minutes.

Scoop dough using a medium-sized cookie scoop and place onto a baking sheet about 2 inches apart.

Bake at 350 degrees for 10-12 minutes (take out of oven before edges brown).

Cool on a rack.

Once completely cooled, pipe with creme cheese frosting between 2 cookies.

Sprinkle with white sanding sugar (optional).

DIRECTIONS-ICING (FLLING)

In mixer with paddle, beat cream cheese, butter, and vanilla at medium speed until light and fluffy (about 5 min).

Reduce speed and slowing mix in sugar (& color).

Beat for 3-5 minutes.


image-asset.jpg

INGREDIENTS

510 g. (18 oz.) Vanilla Bean Ice Cream
¾ cup milk
2 tsp lemon flavor
1 tsp orange flavor
1 tsp all natural cherry flavor
1 Blue ColorKitchen Color packet

WHIPPED CREAM
½ cup heavy whipping cream
7 g. sugar
½ tsp vanilla extract
1 ColorKitchen Rainbow Sprinkles

DIRECTIONS

First, make the whipped cream. Using your stand mixer with whisk attachment, or with a hand mixer, add the heavy whipping cream, sugar and vanilla extract to the mixing bowl.

Whisk slowly at first, then gradually turning up the speed as the whipped cream thickens until you are at full speed. Whisk until the whipped cream is thick and doesn’t fall off the whisk.

Put whipped cream in a piping bag with decorating tip #846.

In a blender, add the ice cream, milk, lemon flavor, orange flavor, cherry flavor and blue dye. Blend until you have a smooth and creamy milkshake.

Pour into milkshake glasses and top with whipped cream.

Sprinkle with rainbow sprinkles!

Baker's Note: To make this vegan, just use organic vanilla vegan ice cream (like Coconut Bliss) and use organic coconut milk instead of milk! 


BUNDT CAKE GLAZE

MAKES: GLAZE FOR 1 BUNDT CAKE

Blue_Loaf_web.jpg

INGREDIENTS

2 cups powdered sugar
⅓ cup butter
1 ½ tsp vanilla
2 tbsp water
1 Blue ColorKitchen Color packet

DIRECTIONS

Melt butter in a saucepan.

In separate bowl blend powdered sugar and color.

Stir in with melted butter and add water slowly. Mix until blended smooth.

Pour over and cover cake. Let cool before enjoying.


5 EASY COLORFUL BREAKFAST RECIPE ACTIVITIES

Spending too much time inside and run out of ideas for how to keep your little ones entertained? Try making your morning food a creative activity!

Enjoy these colorful recipes that are not only fun, but made with all natural and dye-free ingredients. These recipes are easy to make and will bring smiles for days.

Etsy_fork_web.jpg


1. Rainbow Pancakes

MAKES: 12-16 PANCAKES

Making Rainbow Pancakes is easy with ColorKitchen’s naturally vibrant powder food colors. Our plant-based colors are made from nutrient rich turmeric, spirulina and beet.

You can use any pancake mix, or our Gluten-free Rainbow Pancake Mix with colors included.

INGREDIENTS

pancake mix
3-5 ColorKitchen Color packets

DIRECTIONS

Split batter equally into separate bowls. Add 1 color packet to each bowl and mix until the color is fully blended using a whisk or hand mixer. Put ¼ cup colored batter on skillet and cook on low heat. Watch for browning and do not overcook.

COLOR MIXING

For purple mix equal parts pink and blue batter
For green mix 1 ½ parts yellow to 1 part blue batter
For orange mix 2 parts yellow to 1 part pink batter


cereal_sprinkles.jpg

A simple way to brighten your day. Just add a little color to your cereal milk. No need for sugar or artificial ingredients to have your cereal pop with color!

INGREDIENTS

favorite cereal
milk
1-3 ColorKitchen Color packet (pink + blue + yellow shown here)
1 ColorKitchen Rainbow Sprinkles (optional)

DIRECTIONS

Mix ½ tsp color with ½ tsp milk in the bottom of your bowl to dissolve color. Add a little of the pink color to blue for purple.

Add milk and stir.

Add cereal and top with sprinkles (optional). Enjoy!


Unicorn_Toast_full_White_Med.jpg

Transform your everyday toast into a magical unicorn surprise. What a fun way to start your day with your kiddos!

MAKES: ENOUGH CHEAM CHEESE FOR UP TO 10 SLICES

INGREDIENTS

1 block of cream cheese (or 8 oz whipped cream cheese)
1 Unicorn Color Set
6-10 slices of toast or English muffins

DIRECTIONS

Split cream cheese into 4 sections into separate bowls.

Leave one bowl white. Add 1 tsp color in remaining bowls. For purple at ½ blue and ½ pink. For aqua add ½ blue and ½ green. Blend with a spoon until all the color is mixed. Whipped cream cheese is easier to blend.

Spread onto toast with an array of fun colors. Top with sprinkles and enjoy!


Green_Eggs_Ham_web.jpg

4. GREEN EGGS AND HAM

A fun way to start your day!

Dr. Seuss reminds us to be willing to try new things, “You do not like them. So you say. Try them! Try them! And you may. Try them and you may, I say.”

INGREDIENTS

1 Green ColorKitchen Color packet
2-3 eggs
side of ham
1 tsp milk (optional)

DIRECTIONS

In a small bowl add 1 green packet and milk to your eggs and whisk.

Prepare eggs your favorite way. Serve with ham.

It’s that easy!


ColorFul_Oatmeal_web.jpg

MAKES: 3 BOWLS

INGREDIENTS

3 packets of your favorite instant oatmeal
hot water
2-3 ColorKitchen Color packets
dried cranberries, blueberries, bananas, nuts or any topping of your choice

DIRECTIONS

In three bowls, add packets of oatmeal.

Add color packets on top of oatmeal.

Pour hot water over oats and color and stir to combine.

Finish with your favorite toppings.

Can you use your regular food colors to dye eggs?

Egg_paint.jpg

If you’re wondering if you can use our regular food colors to dye eggs, here’s what we recommend: paint on eggs by mixing ½ tsp water with powder colors and dissolve, or you can “dye” eggs by adding 2 tbsp more water (after first dissolving with ½ tsp water) and dip eggs for a light pastel color. For true egg dyes try our Natural Easter Egg Color Kit, designed to work on egg shells with deep rich colors.

Macaron Color Techniques - ColorKitchen Powder Colors with Flour + Sugar Home Bakery

macarons_1.jpg

We asked Olivia Newberry from Flour + Sugar home bakery to share with us her process for creating colorful macarons with ColorKitchen colors and something more about how she became interested in the world of baking.

CK: Which colors had the most vibrancy when using for macarons?

OLIVIA: The pink definitely gets the brightest out of all the colors and I found it the easiest color to work with as well. The blue has the most beautiful specks of color in it. I love that I can add a little powder at a time to go from pastel colors to more vibrant or darker colors. The orange creates a perfect peachy color.

CK: How did you mix the colors?

OLIVIA: I used your Color Mixing Guide. Blue and pink mixed really well for vibrant purple. I used Red Velvet and blue to make a darker purple. 

macaroons_2.jpg

CK: What is your typical bake temp and time?

OLIVIA: Typically, I preheat my oven to 320 °F. I bake for 7 minutes, rotate the pan and then bake another 7  minutes. I always bake on a Nordic Ware sheet pan lined with a Silpat. 

CK: Did the colors perform differently or did you make any modifications based on the color? 

OLIVIA: The powders work wonderfully for the macaron shells. I prefer them over gel. I feel like I get better consistency and texture with my shells.  When using gel colors, I typically add the color while I am whipping the eggs. However, I change it up a little bit when using the ColorKitchen’s powdered colors. Once I get my egg whites and sugar to a stiff meringue, I fold in a 1/3 of my almond flour mixture to the meringue. I add the powdered colors when I fold in the remaining flour mixture. I find this order of ingredients VERY important when using any colors that have turmeric in them. 

I could not get a successful batch using the green. I had a mildly successful batch with the yellow, but I only used a small amount to make a pretty pastel yellow. The green deflated my meringue almost instantly and the few batches that it did not, the batter flattened and bubbled (like when adding vinegar and baking soda together) once resting on the pan. I usually let my macarons rest for 5-15 minutes before baking. I tried both methods--rest or no rest--with similar results. They came out looking really weird, but still tasted amazing, so my family ate them. I only use the French Method, so I don't know if a more stable meringue that you get with the Italian Method could be more successful.

 And, on a side note:  Usually a dark blue macaron shell means stained teeth, but I love, love, love that I can add as much blue powder as I want and there is zero evidence that I was eating a blue macaron. I often avoid using darker colors because it annoys me to have my whole mouth turn that dark color from the gel food coloring. I would die and go to heaven if y'all came up with a black powdered color!

 CK: How did you find your passion for baking?

OLIVIA: Growing up, my mom was always in the kitchen cooking or baking something. She is originally from the South and has that true Southern Hospitality spark in her. She passed that down to me. We were always baking muffins or cookies for others, and I loved to see their faces light up with joy when receiving fresh baked treats. As I got older, I started to take on more challenging tasks beyond taste tester, and found I loved the experience of trying a new recipe or new flavors. I loved taking all the separate ingredients and creating something new.

CK: What are some of your favorite foods to bake? 

OLIVIA: PIE. Especially Buttermilk Pie. It's a family recipe that always reminds me of Thanksgiving.  Any cookie recipe that you only need one hand to make is gold in this house. I can hold a baby with one arm and use the other to add my ingredients to the mixer and use a cookie scoop to scoop and drop cookies onto the sheet pan. French Macarons are by far my favorite, but more time consuming and I can't hold a baby while making them. I enjoy the technical challenge of macaronage. I do love to bake cakes, but mostly so I can decorate them! Outside of desserts, I really like to bake beer bread because it makes the house smell amazing. And, cinnamon rolls which aren't technically a dessert since they are for breakfast.

CK: Do you have a favorite baking memory? 

OLIVIA: I don't have any specific memories, but the smell of something sweet baking in the oven--whether it's muffins, cookies, cake, cupcakes, or cornbread--makes me happy. It brings back that nostalgic feeling of being a kid. I do remember the one time I made cookies all by myself for the first time. I misread the recipe card and instead of 1 cup of sugar and 1 tsp of salt, I added 1 cup salt and 1 tsp of sugar. I thought the dough was awful. I put them in the oven anyways, thinking maybe the baking process would improve them. It did not.

CK: What's your favorite ColorKitchen product? 

OLIVIA: The powdered colors all the way! The pink and blue colors are my favorite. I love that they came with the Color Mixing Guide because now I want to experiment with buttercream for my next palette knife decorated cake.

CK: What inspires creativity in the kitchen 

OLIVIA: I get a great deal of inspiration from the art community. I love abstract art and oil paintings. Buttercream is a perfect medium to take that inspiration and put it on a cake. Living in the Pacific Northwest almost all my life means that nature continuously inspires my color palettes. Sometimes, my boys' art projects inspire me as well. I also find creativity in working with what I have rather than always having the exact ingredients or materials. When I was in the Army, my barracks did not have an oven, so I had a hot plate that I hid in my closet. I "baked" rice krispie treats all the time. I fed my creativity by making them with every kind of cereal (and candy) I could imagine. My mom even sent me some homemade sugar cookies and a tub of frosting while I was deployed, just so that I could decorate cookies!

CK: How important are healthier ingredients when baking?

OLIVIA: As I started to bake at a higher level and develop Flour + Sugar, using quality, healthy ingredients became more and more important. I find quality ingredients lead to better tasting and better looking desserts. Finding healthy alternatives is taking priority now that I have kids, but also as I tend to get more requests for it. I regularly have people asking what kind of food coloring I use, and they are thrilled when they have the option for ColorKitchen’s all natural dyes.

-Flour + Sugar

Summer Tiki Popsicles

On a hot summer day, what’s more refreshing than a popsicle? Tiki pops make any picnic or summer gathering just that much more fun!

INGREDIENTS & DIRECTIONS

Use ¼ tsp ColorKitchen colors to ½ cup juice per popsicle. We used organic limeade sweetened with grape juice.
Mix with a spoon until color fully blended.
Poor into popsicle mold and let sit overnight.

You can find Tiki Popsicle Molds online or at Sur La Table or Williams and Sonoma kitchen stores.

Natural Black Food Color

black_black_icing.jpg

We get asked all the time about natural black color. What’s available is a mix of plant colors that tend to be green, blue or pink, and often can look brown or gray. Activated charcoal has become popular in recent years, but is not approved by the FDA as a food color.

A great alternative is black cocoa powder (dutch cocoa) to get a dark saturated black color.

Here is a simple recipe for naturally black colored icing. The icing does have a bit of a cocoa flavor.

BLACK ICING
1 cup powdered sugar
1 ½ Tbsp black cocoa (12 grams)
1 ½ Tbsp milk

Making Healthy Unicorn Ice Cream With NATURALLY SOURCED, PLANT-BASED Colors

unicorn_ice_cream.jpg

Cold, sticky, and sweet, ice cream is universally beloved by children everywhere. But no matter how much delicious fun it gives your child, you know it’s packed with fat, artificial colors, and empty nutrition. And that’s not what you want — especially in summer (peak ice cream season) when children eat five times more sugar than normal, the New York Post reports. By making your own ice cream, you get to control what goes in it, but you don’t have to skimp on the fun either. Unicorn ice cream dazzles with its bright, rainbow swirls and colorful sprinkles and can be made without artificial or unhealthy ingredients.

Healthy ingredient switches
Traditional ice cream relies on heavy cream to form a rich custard before being churned and frozen. However, heavy cream is also high in fat and calories, which some parents prefer to avoid. Moreover, if your child is vegan or dairy-intolerant, you’ll need an appropriate alternative. So, replace heavy cream with coconut milk. Coconut milk is heart-healthy and high in medium-chain fatty acids, which quickly metabolize for energy without being stored in the fat cells. 

Plant-based food colors
Of course, what makes unicorn ice cream so exciting is its delightful array of colors. But artificial food coloring is a no-go since it may cause hyperactivity, allergies, asthma, and insomnia. Instead, use gluten-free, non-GMO decorative food colors derived from plants — blue, pink, yellow, and green work great in unicorn ice cream. These colors are derived from antioxidant-rich spirulina, beets, and turmeric. Spirulina contains omega-6 and omega-3 fatty acids and may even have anti-cancer properties; beets are anti-inflammatory and support digestive and brain health; while turmeric lowers blood sugar levels and boosts mood. In other words, they do the body good.

How to make unicorn ice cream 
To make your unicorn ice cream, you’ll need four cans of coconut milk refrigerated overnight, one cup of organic white sugar, one teaspoon of pure vanilla extract, and plant-based decorative food colors. An ice cream maker is also required to churn the ice cream to a soft-serve consistency. The day before, heat up the coconut milk and sugar in a pan for five minutes until warm. Fold in vanilla extract. Divide mixture into four bowls and add a different food color to each bowl. Stir to combine and leave to chill overnight. The next day, churn each of the colors of ice cream in the ice cream maker. Once each color is done, layer them one on top of the other in a loaf pan. Swirl the layers with a spoon, but don’t over-mix. Cover and firm in the freezer for two hours. Then scoop, sprinkle with naturally-colored unicorn sprinkles, and eat! 

While ice cream will never outdo broccoli in the health department, making healthier switches for your children is better for them in the long run. Your kids will have fun both making and eating unicorn ice cream in all its beautiful, naturally-colored glory. And you can feel better about providing them with a healthier option, too.

Sugar Free, Non-Glycemic Chocolate Frosting Recipe

Confetti_Cake_Chocolate_Frosting_Web.jpg

If you’re looking to reduce the amount of sugar in your diet, we’ve got a wonderfully sweet, non-glycemic frosting recipe.

Makes 1 ½ pints frosting (1 cake or over 1 dozen cupcakes)

INGREDIENTS
2 sticks butter (room temp)
1 ¼ cup Swerve Sweetener
1 cup cocoa powder
5 Tbsp milk
1 ½ tsp vanilla

DIRECTIONS
Mix ingredients with hand mixer medium speed for 2 minutes.

Try with our Gluten-free Confetti Cake Mix. We saved ½ the confetti packet to top the cake

How To Dye Easter Eggs Naturally with Leaf Imprints

Have you always wanted to know how to color Easter eggs with leaf imprints? We take you step-by-step to show you how!

Instructions are included with our vibrant plant-based dye Easter Egg Coloring Kit. Color your eggs with naturally beautiful hues, designed with nature’s floral and leaf prints.

All you need is a dozen boiled eggs, 3-4 nylons, fresh herbs or flower petals and our Easter Egg Coloring Kit!

LeafPrint_Instruct.jpg

Natural Shades of Red-Cookie Icing Recipes

Achieving a bright red has been a challenge in the natural color world. With ColorKitchen Red Velvet color, it’s easy to get a true fire engine red, that previously was only possible using Red Dye 40.

With ColorKitchen you don’t have to compromise and can eliminate that chemical aftertaste and artificial ingredients.

natural_red_color_icing_cookies_blog.jpg
Natural_Color_Red_Icing_blog.jpg

From magenta to fire engine red, here are three icing recipes to create gorgeous shades.

FIRE ENGINE RED (left)
3 cups powdered sugar
5 tbsp milk
2 tbsp Red Velvet Color
Orange ColorKitchen Color packet (approx ½ packet or 1 tsp)

MAGENTA (middle)
3 cups powdered sugar
5 tbsp milk
3 tbsp Red Velvet Color (1 full packet)

BRIGHT RED (right)
3 cups powdered sugar
5 tbsp milk
2 tbsp Red Velvet Color
1 Yellow ColorKitchen Color packet (approx 1 ½ tsp)


Super Easy Holiday Cookie Decorating Ideas

6 Foolproof Holiday Cookie Decorating Tips

Looking forward to holiday cookie-making fun, but don’t have great decorating skills? We get it!

Here are some quick and easy ways to make great looking cookies for the holidays that will make you and your family look like pros. And, by using ColorKitchen food colors for cookies and cakes that are artificial dye-free and naturally sourced, you can feel good about enjoying and sharing your sweet creations!

Stacked Trees:
Cut 3 different sized circles out of sugar cookie dough with round cookie cutters. If you don’t have cookie cutters you can trace circles with a knife. To decorate, use a thick buttercream and color with Green ColorKitchen Color packet and a small amount of frosting for the star with Yellow ColorKitchen Color packet. Use a large star tip and pipe a swirl of green frosting on each layer before stacking the next cookie. Finish with ColorKitchen Rainbow Sprinkles and a yellow star piped on top.

tree_stack_med.jpg

Scalloped Trees:
Cut out sugar cookie dough with a scalloped cookie cutter. To decorate, dip the face of each cookie in thin white icing and let some of the excess drip off. Use a thicker buttercream colored with Green ColorKitchen Color packet and a small round piping tip (or just a ziplock bag) to zig zag a tree design in the center of each cookie. Use Yellow ColorKitchen Color packet to color a small amount of buttercream and a star tip to pipe a yellow star on top. Finish with a pinch of ColorKitchen Rainbow Sprinkles over the trees.

Scallop_Tree_med.jpg

Gingerbread Trees:
To shape the trees, use a knife to cut the dough into a long rectangular strip, then cut in a zig zag pattern to get triangles. To decorate, use buttercream colored with Green ColorKitchen Color packet and a small round piping tip (or just a ziplock bag) to zig zag across each cookie from top to bottom. Use Yellow ColorKitchen Color packet to color a small amount of buttercream and a star tip to pipe a yellow star on top. Finish with ColorKitchen Rainbow Sprinkles.

gingerbread_tree_med.jpg

Candy Canes:
Cut out gingerbread dough with candy cane shaped cookie cutter. To decorate, dip the face of each cookie in thin white icing and let some of the excess drip off. Drizzle red icing made with Red Velvet ColorKitchen Color packet from a bottle or just a ziplock bag over the white to give the candy cane stripes.

candy_cane_med.jpg

Snowmen:
Cut out sugar cookie dough with snowman shaped cookie cutter. To decorate, frost cookies with your favorite white buttercream. Add some milk to the remaining frosting to thin it out. Then divide it in two portions and mix with naturally colorful Red Velvet ColorKitchen Color packet and Blue ColorKitchen Color packet. Pipe hat, scarf, eyes, and buttons.

snowman_med.jpg

Snowflakes:
Cut out gingerbread dough with snowflake shaped cookie cutter. To decorate, use a thin icing mixed with Blue ColorKitchen Color packet. Use a piping bag (or just a ziplock bag) to pipe designs on the cookies or flood them with different colors of icing and use a toothpick to drag colors and marble the colors together.

snowflake_med.jpg

Recipe-Anna Dunn

How to Make Naturally Colorful Unicorn Noodles

Unicorn_Pasta_Noodles.jpg

Heard about Unicorn Pasta? Try this fun and easy recipe to color your noodles with a rainbow of unicorn combinations! Our colors are plant-based, non-GMO and artificial dye-free for a naturally beautiful and nourishing bowl of fun!

INGREDIENTS:
1-2 bags Lotus Foods Organic Rice Pad Thai Rice Noodles
1 Blue ColorKitchen Color packet
1 Pink ColorKitchen Color packet Pink Packet
2 tsp lemon juice
1 Tbsp coconut nectar, or agave
1 ColorKitchen Rainbow Sprinkles (optional)
Colorful fruits, veggies and nuts of your choosing

DIRECTIONS:
1. Cook and rinse pasta. Strain and let cool.

2. Put ½ packet pink color into a medium sized bowl. Put other ½ of pink and 1 blue packet (for purple) into another medium sized bowl. Or, another option is to add colors to ziplock baggies to toss with noodles.

3. Put 1 part pasta in with pink color and other half with pink and blue color combination. Stir with mixing spoon in bowls, or gently toss in ziplock baggies. Add a little water if needed to dissolve and blend color. Once noodles are saturated with color, strain again to remove excess water if needed.

4. Toss with coconut nectar and lemon juice to taste.

5. Plate pasta and be creative! Add colorful fruits, vegetables, and more to enjoy a gorgeous bowl of healthy fun!