Ingredients- Macaron Shells
150g egg whites (from 4-5 large eggs)
150g (¾ cup) granulated sugar
1 tsp egg white powder (optional, but encouraged in humid environments)
157g (1 ½cups plus 1 tbsp) almond flour
157g (1 ½ cups plus 1 tbsp) powdered sugar
1 tsp non-alkalized cocoa powder
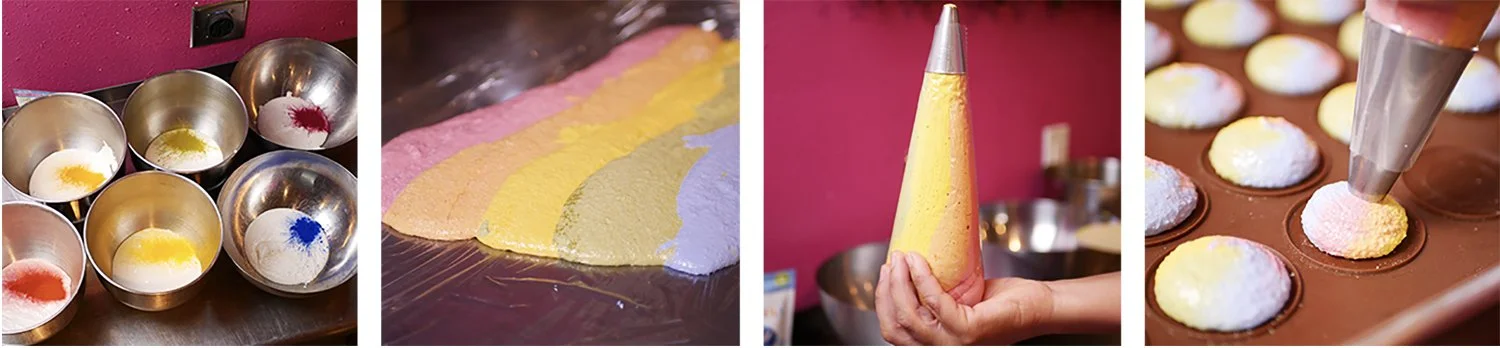
1 ½ tsp Color Kitchen Red Velvet color
Ingredients- Cream Cheese Filling
85g (6 tbsp) butter, room temperature
85g (3 oz.) cream cheese, room temperature
240g (2 cups) powdered sugar, sifted
1 tsp vanilla
¼ tsp salt
Color Kitchen Natural White Sprinkles
DIRECTIONS
Prepare tools: Line 2-3 baking sheets with silicone mats or parchment paper. Fit a large piping bag with a plain round piping tip. Flip the piping tip upwards and place in tall cylinder container (like a tall beverage glass or liquid measuring cup) for ease of filling. Set aside.
Prepare dry ingredients: Sift together the almond flour, powdered sugar, Color Kitchen Red Velvet color, and cocoa powder in a large bowl. Set aside.
Prepare Swiss meringue: In a heatproof mixing bowl, combine the granulated sugar and egg white powder (if using). Whisk in egg whites until combined.
Place the bowl over a pot of simmering water (double boiler) and whisk constantly until the sugar has dissolved. The egg white/sugar mixture will look somewhat foamy and feel barely warm to the touch. You can test this by rubbing a little between your fingers—there should be no graininess. Be careful not to overheat the egg whites.
Remove the bowl from the heat and immediately transfer to a stand mixer with whisk attachment (a hand-held mixer with whisk attachment will also work here, but will take slightly longer.). Start whisking on low to loosen the egg whites and gradually increase the speed to high until stiff, glossy peaks form.
Start the macaronage process: Using a large, flexible spatula, fold in half of the meringue into the dry ingredients until fully incorporated. Fold in the remainder of the meringue and begin the macaronage process by gently folding the batter and smashing it against the side of the bowl in a “J” motion, rotating the bowl as you go, to slightly deflate the meringue. In the beginning, the batter will be thick and lighter in color, but as you continue to deflate the air bubbles out of the meringue, the batter will become more cohesive, loose, and darken in color. Continue the macaronage process until the batter reaches the ribbon stage (the batter is able to fall off the spatula in an unbroken ribbon while able to make the figure eight). Be careful not to over-mix by stopping periodically to check for proper consistency. You can always test a small amount of batter by spooning it onto a plate and watching for it to slowly flatten out with no visible peak.
Pipe the macaron shells: Once the batter is properly mixed, transfer it to your prepared piping bag. While holding the piping bag perpendicular to the baking sheet, pipe small, even circles about 1.5 inches in diameter. Be careful not to pipe at an angle or the macarons will not bake evenly. Let the piped macaron shells rest at room temperature for about 20-60 minutes, or until they form a dry skin on top. To check if they are ready, gently touch the top of a shell—if it doesn't stick to your finger, they are ready to bake.
Preheat oven: While the macarons are resting, preheat oven to 300°F.
Prepare cream cheese filling while macarons are resting: For the filling, beat together softened cream cheese, butter, and vanilla until fluffy. Add in sifted powdered sugar and salt and mix until creamy. If using a piping bag, fit with desired piping tip and fill with cream cheese frosting. Set aside.
Bake the macaron shells: Once the macarons have formed a skin, bake the macarons one sheet at a time for approximately 12-16 minutes, depending on your oven. You can test for doneness by gently nudging a shell with a finger—if it remains anchored to the foot and doesn’t move around, it's done. Let the macarons cool completely on the baking sheet. Once cooled, they should easily peel off the parchment or silicone mat. Pair up the macaron shells by similar size.
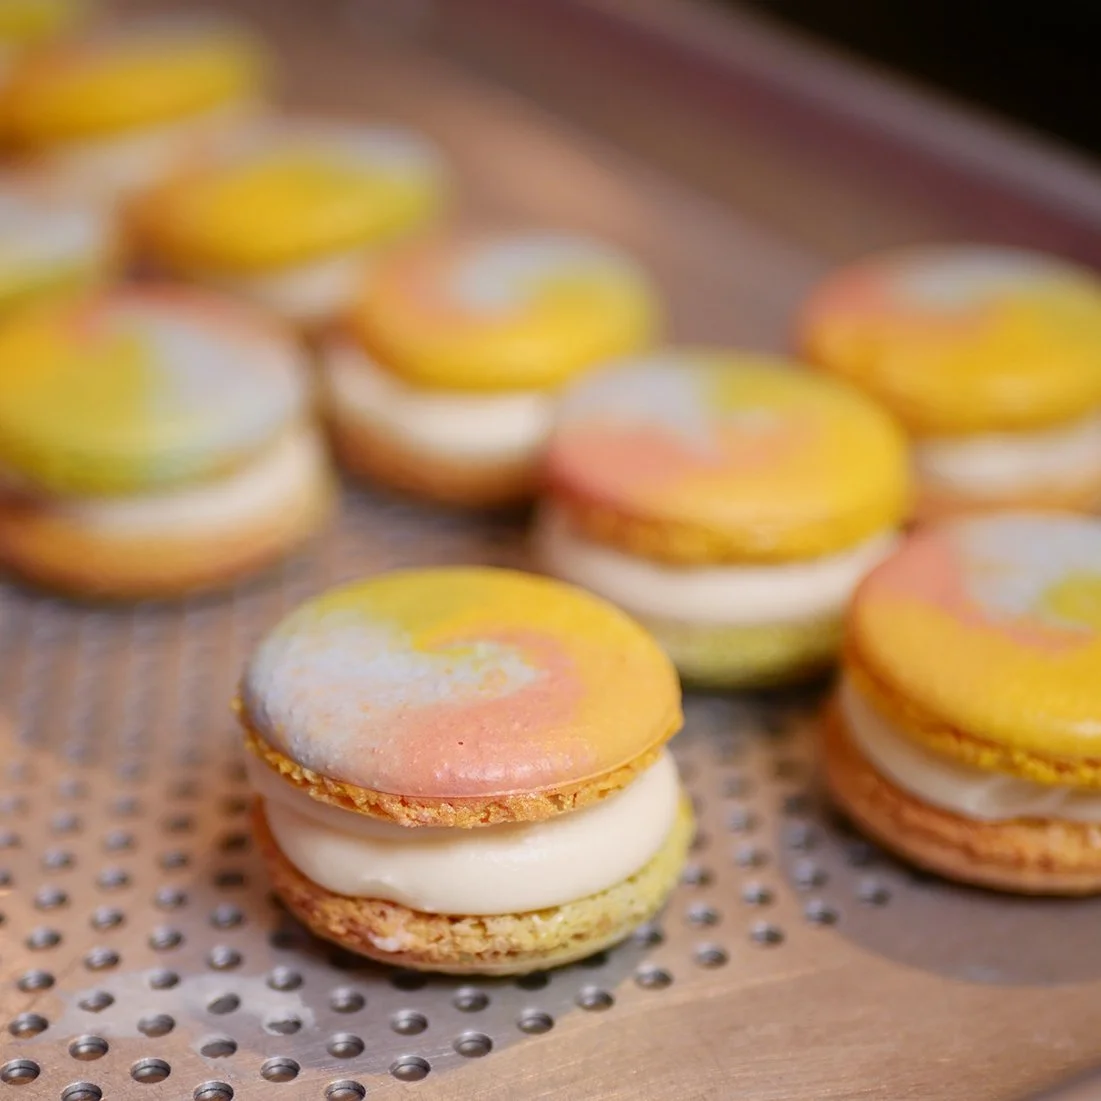
Assemble the macarons: Pipe or spread a small amount of cream cheese filling on the flat side of one macaron shell, then gently press a matching shell on top. Decorate the sides of the macaron with desired sprinkles. For best flavor and texture, let your macarons age in the fridge for at least 24 hours before serving. This allows the filling to soften the macaron shell and helps the flavors meld together. Bring them to room temperature before serving.
Storage: Store filled macarons in an airtight container in the refrigerator for up to one week or in the freezer for up to six months.
Tips:
Weigh Ingredients: Using a food scale is highly recommended, as the slightest off-balance of ingredients can prevent a successful end-product.
Wipe down mixing bowl and whisk with lemon juice or vinegar, if necessary, to remove any residual grease that will prevent the meringue from forming.
Use finely ground almond flour for the smoothest macaron tops. Quickly pulse dry ingredients together in a food processor if you find your almond flour is too course, but don’t over-mix or it will release too much oil.
Oven Temperature: Ovens can vary, so keep a close eye on the macarons during baking. Using an oven thermometer is very helpful here!
Rest Time: Don’t skip the resting step; it helps the macarons form their signature “feet”, prevents cracking, and ensures even baking.
By Heidi Lin @heidilinbakes