Easter

Whipped Cream MarblEd EASTER Eggs | Natural | Artificial Dye-free | NON-TOXIC

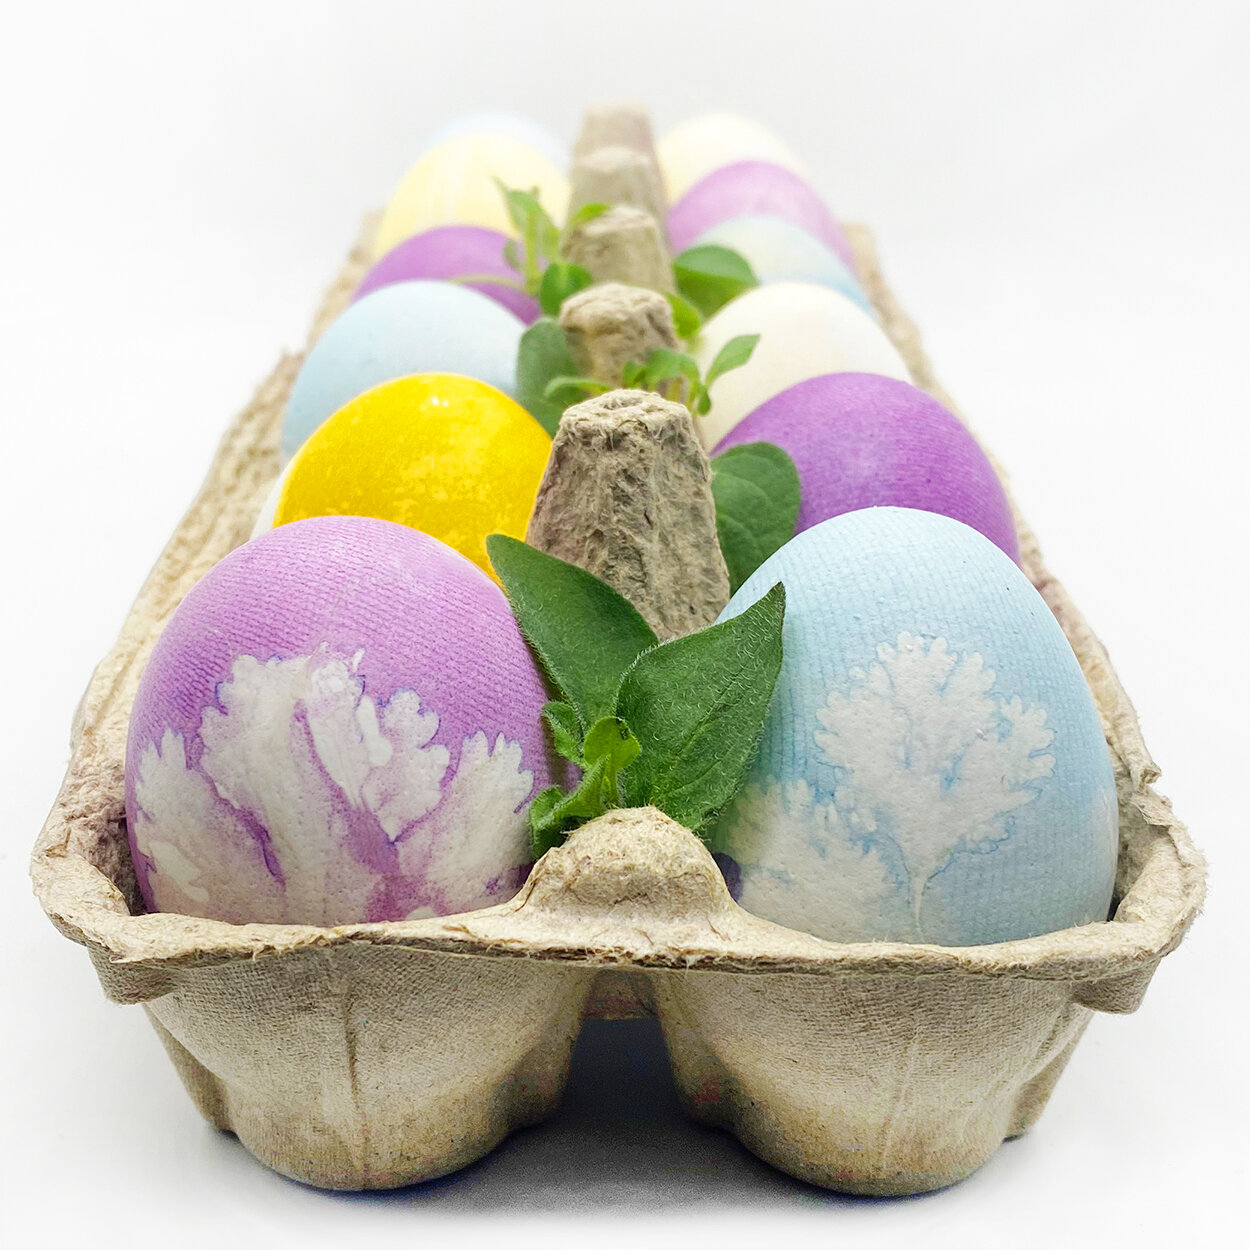
Looking for a fun Easter egg coloring activity? Try marbling eggs with whipped cream, a safe non-toxic and edible alternative to the popular Shaving Cream Easter Eggs. All you need are 3 ingredients along with our natural plant-based Easter dye kit!

INGREDIENTS

Color Kitchen Easter Egg Coloring Kit
12-24 eggs
1 tbsp white vinegar
whipped cream

DIRECTIONS

Hard boil eggs.

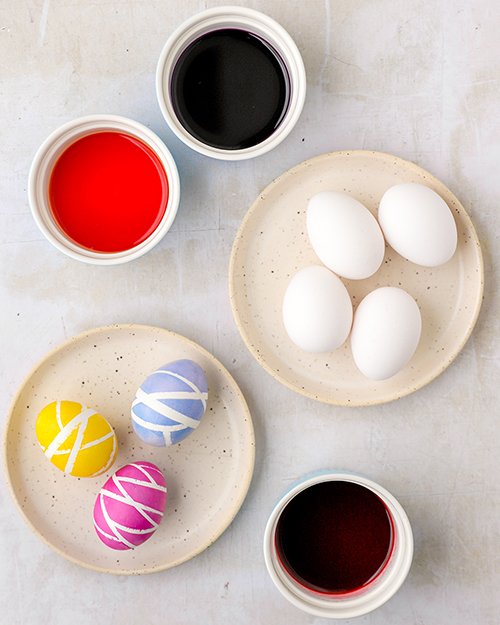
Add Easter egg dye packets to small jars.

Add 1 teaspoon of water to each jar, and use the paint brush to mix the color into a paste. Allow to sit for 5 minutes, then mix again to ensure the color is well saturated.

Add 1 tablespoon of vinegar into blue and pink/purple dyes. 

Add 1 tablespoon of water into yellow/orange dye.

Add whipping cream to a shallow dish. Spread into an even thin layer.

Add drops of dye around the whipping cream, spaced about 1 inch apart. Use more drops of color for more vibrant eggs, and fewer for a more pastel look.

Use a skewer and draw lines back in forth, leaving a marbled pattern in the whipping cream.

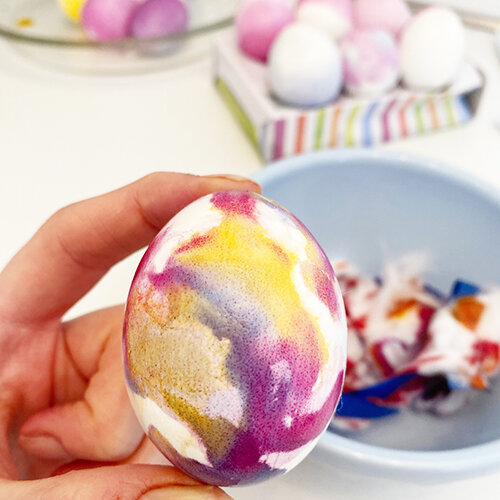
Gently roll eggs over the top of the whipping cream, allowing the color to stick to the eggs. Try not to push the eggs too deeply in the whipping cream. You want mostly dye and less whipping cream to stick to the eggs.

Allow eggs to dry for 30 minutes.

Dip eggs in a bowl of cold water and shake to remove excess whipping cream. If some of the whipping cream sticks, leave it on the eggs to remove later.

Wait 3-4 hours before trying to wipe excess whipped cream off of eggs. If you try right away, the dye will wipe off the eggs along with the whipping cream.

DIPPED EASTER EGGS | NATURAL DYES | PLANT COLORS

natural easter egg dyes

Dipped eggs, a simple and stunning technique for naturally dyed easter eggs with plant-based dyes.

MAKES: 12-24 EGGS
Prep Time: 20 minutes

INGREDIENTS

Color Kitchen Easter Egg Coloring Kit
12-24 eggs
2 tbsp white vinegar

natural easter egg dyes

DIRECTIONS

Place eggs in a single layer in a large saucepan. Add enough cold water to cover the eggs.  Bring to a boil on high heat. Let the eggs boil for 1 minute, then remove them from heat. Let the eggs stand in the hot water for 12 minutes, then transfer them to an ice bath to cool.

Dry the eggs completely with a towel. 

Empty each color packet into a separate cup. Add ¼ tsp water and blend thoroughly with the brush to dissolve the powder. Leave for a couple of minutes then blend again. Keep mixing until all of the powder has dissolved. Add 1 tbsp white vinegar to the pink/purple dye and the blue dye only (not yellow/orange). Add 2 tbsp water to all and mix.

Hold the eggs on one end and dip other half into the cups of dye. Hold submerged in the dye for a few seconds for deep colors, or quickly for lighter pastels.

Set to dry in an empty egg carton or the tray provided with the Easter kit.

Dip a second time in other dyes for layering of color.

TIP: For clean lines, wrap a strip of masking tape around the center of each egg. Press down firmly so that the dye will not be able to seep in underneath the tape. Once eggs are dry, remove tape,

Natural Easter COLORS with Brown Eggs

Brown_eggs_plate_yellow_blog.jpg

Our egg dyes are so strong they work great on brown eggs, creating rich golden tones.

WHAT YOU NEED

1-2 dozen eggs
Color Kitchen Easter Egg Coloring Kit
white vinegar

DIRECTIONS

Step 1: Hard boil 1-2 dozen eggs and chill.

Step 2: Empty each color packet into a separate cup. Add 1/4 tsp water and blend thoroughly with brush to dissolve the powder. Leave for a couple of minutes then blend again. Keep mixing until all the powder has dissolved.

Step 3. Add 1 Tbsp white vinegar to pink/purple and blue only (not yellow/orange). Add 2 Tbsp water to all and mix.

Step 4. Put eggs in cups and turn over gently with a spoon to cover all sides. Dip quickly for pastel colors. Leave for several minutes for deeper shades.

Step 5. Take egg out with spoon and set in tray or empty egg carton to dry.

Striped Easter Eggs | Natural Dyes | Plant Colors

Natural Easter Egg Dyes

MAKES: 12-24 EGGS
Prep Time: 20 minutes

Ingredients

Color Kitchen Easter Egg Coloring Kit
12-24 eggs
2 tbsp white vinegar
masking tape

Natural Easter Egg Dyes

Directions

Place eggs in a single layer in a large saucepan. Add enough cold water to cover the eggs.  Bring to a boil on high heat. Let the eggs boil for 1 minute, then remove them from heat. Let the eggs stand in the hot water for 12 minutes, then transfer them to an ice bath to cool.

Dry the eggs completely with a towel. 

Cut the masking tape into thin strips.  Arrange the tape on the eggs to create stripes.  Make sure that the tape is pressed down firmly on the eggs.

Empty each color packet into a separate cup. Add ¼ tsp water and blend thoroughly with the brush to dissolve the powder. Leave for a couple of minutes then blend again. Keep mixing until all of the powder has dissolved. Add 1 tbsp white vinegar to the pink/purple dye and the blue dye only (not yellow/orange). Add 2 tbsp water to all and mix.

Put the eggs in the cups and turn them over gently with a spoon to cover all sides. Dip quickly for pastel colors. Leave for several minutes for deeper shades. Take the eggs out with a spoon and set in the tray or empty egg carton to dry.

Remove the masking tape.

Crayon Egg Designs with Natural Easter Egg Dyes

Crayon_Eggs_blog.jpg

Get out those crayons for some Easter decorating fun. Great creative and draw on your eggs before dipping in dyes. So easy!

WHAT YOU NEED

1-2 dozen eggs
crayons
Color Kitchen Easter Egg Coloring Kit
white vinegar

Crayon_Eggs-white.jpg

DIRECTIONS

Step 1: Hard boil 1-2 dozen eggs and chill.

Step 2: Mix up egg dyes (instructions on package).

Step 3. Make sure eggs are dry and then draw on eggs. Use white for areas you don’t want color to create patterns.

Step 4. Allow dyes to dry for an hour or until dry to the touch.

Easter Egg-Rubber Band Stripes

Egg_stripe_newsletter.jpg

This simple rubber band technique works like a charm for fun and easy striped Easter eggs.

WHAT YOU NEED

1-2 dozen eggs
rubber bands (thick recommended)
Color Kitchen Easter Egg Coloring Kit
white vinegar

rubberband_white.jpg

DIRECTIONS

Step 1: Hard boil 1-2 dozen eggs and chill.

Step 2: Mix up egg dyes (instructions on package).

Step 3. Make sure eggs are dry and then gently wrap around rubber bands. Make sure they are snug.

Step 4. Allow dyes to dry for several hours.

Step 5. Remove bands.


Leaf Print Easter Eggs-Natural Plant-based Dyes

leaf_print_last_hope_crop_blog.jpg

Have you always wanted to know how to color Easter eggs with leaf imprints? We take you step-by-step to show you how!

What you need

1-2 dozen eggs
nylon stockings
fresh herbs with soft leaves
Color Kitchen Easter Egg Coloring Kit
white vinegar

blog_herb.jpg

Directions

Step 1: Hard boil 1-2 dozen eggs and chill.

Step 2: Mix up egg dyes (instructions on package).

Step 3. Cut nylon into small bands, approximately 5 inches long. You’ll need as many as you have eggs.

Step 4: Make sure eggs are dry. Then place fresh leaf onto the egg and press lightly, so that the dye does not get underneath the leaves.

Step 5: Wrap gently but snugly in the nylon and tie closed with a knot or rubber band on both ends. The tighter you can get the better, but be careful not to crack the egg.

blog_dip.jpg

Step 6: Dip in color.

Step 7: Dab off excess water with a paper towel and leave to dry for several hours, or overnight.

Step 8. When dry, cut nylon open and gently peel off leaves.

blog_wrap.jpg


Geometric Easter Eggs with Colors from Nature

Painted_eggs_blog.jpg

Simple geometric patterns are back - and what better way to join in on the trend than with this year’s Easter eggs!

We’ll show you how to use our Easter Egg Paint Kit to create adorable mix and match Easter eggs with stripes, geometric patterns and of course polka dots!

tape.jpg

What you need

1-2 dozen eggs
Color Kitchen Easter Egg Paint Kit
tape (recommended: blue painter’s tape)

Directions

Step 1: Hard boil eggs and chill.

Step 2: Make sure eggs are dry. Cut small strips of tape and begin taping off portions of the eggs in patterns with stripes, triangles and diamonds.

Leave a couple eggs plain for polka dots and other freehand patterns.

Step 3: Mix up egg paints*. Pour each color packet into a small cup or bowl. Add ¼ tsp water and blend with brush. Add another ½ tsp water and mix again into a paste. Make sure color is fully dissolved. For lighter pastels, add another tsp water and mix. *For more colors you may also use our regular food colors.

Step 4: Paint the white areas of the eggs using different colors. For freehand designs, paint on eggs like watercolors.

Step 5: Allow paint to fully dry (1-2 hours) and then carefully remove tape.

geo_bowl_blog.jpg

Tie Dye Easter Eggs with Natural Plant-Based Dyes

tie_dye_bowl_blog.jpg

Easter eggs were MADE for tie dye-ing, but what’s the easiest way to do it? We’ll show you below!

egg_cotton.jpg

What you need

1-2 dozen eggs
cotton balls
Color Kitchen Easter Egg Coloring Kit

directions

Step 1: Hard boil eggs and chill.

Step 2: Mix up dyes (instructions on package).

Step 3: Dip a cotton ball into one color and gently blot onto egg.

Step 4: Repeat this with each of your desired colors and overlap colors to blend.

Step 5: Allow eggs to dry for 1-2 hours.

Two other ways you can achieve the tie dye effect are by dripping colors onto the egg and allowing them to blend, or by wrapping an egg in a cotton ball, taping the cotton onto the egg and dipping the egg in colors. Wait until fully dry (1-2 hours) before removing the cotton.

tie_dye.jpg